
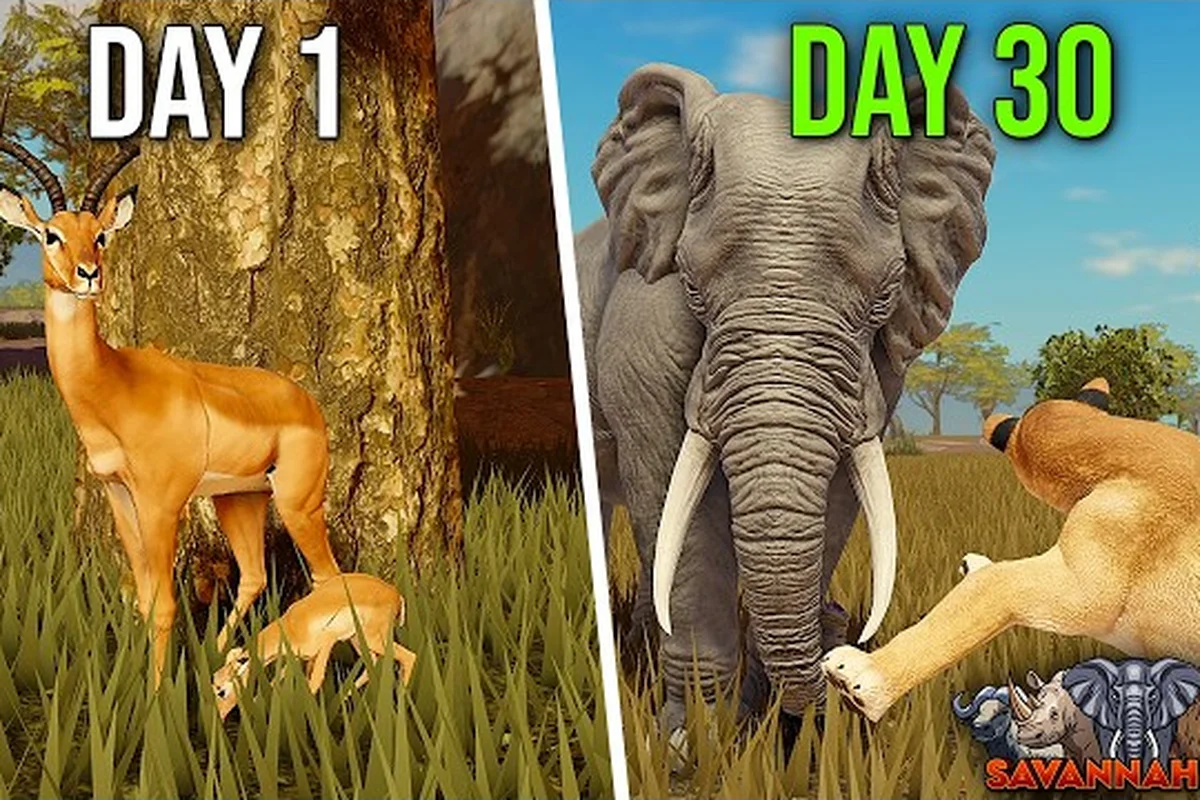
Survival in Savannah Life is decided by three bars: hunger, thirst, and health. Let them drop, and your creature collapses under the dry sun. The savannah life survival guide below walks you through the core loop every new animal needs to learn, and the practical steps that keep those bars full when the world is hunting you back.
According to the game's official Roblox page, the food and drink keys are the most important bindings a beginner can memorize, and the rest of survival is positioning, patience, and species choice. Use this guide to lock in the basics, then layer combat, growth, and badge hunting on top.
The Three Survival Bars and Why They Drain Together
Every creature in Savannah Life juggles the same three core meters: hunger, thirst, and health. They behave like a chain, because losing one accelerates the others, and recovering one is what slows the rest. Community testing shared on the Savannah Life Wiki Guides hub shows that the average new player dies to a chain of empty bars rather than a single predator attack, which is exactly why every experienced player preaches food and water first, fighting second.
Hunger, Thirst, and Health Explained
| Bar | What it measures | Drain trigger | What an empty bar does |
|---|---|---|---|
| Hunger | How recently you ate | Time, sprinting, and combat use | Health slowly ticks down |
| Thirst | How recently you drank | Time, heat, and running | Health ticks down faster than hunger drain |
| Health | How much damage you can take | Predators, falls, and bar starvation | Creature collapses and respawns |
The order of priority is always thirst first, hunger second, health third. Thirst depletes faster than hunger under most conditions, especially when the day/night cycle shifts into the hotter hours, so drinking on cooldown buys more survival time per minute spent than eating.
Reading the On-Screen Bars
The interface places the three meters along the bottom of the screen in the same order on every device. The leftmost bar is the one to watch first because it represents the most aggressive drain. If the leftmost bar is empty and you have only a few seconds before combat, drink even if it means ignoring food; the NOYO Productions species page confirms that predators almost always attack already-weakened prey, and a hydrated bar buys you the stamina to escape.
How to Eat, Drink, and Trigger the Core Keys
Eating and drinking in Savannah Life is a button input, but the real skill is knowing what to aim for, when to use the key, and when to back away from a contested food source. Beginners lose more health to over-aggressive grazing than to predator attacks, because fighting for a single bush while both bars are red is one of the most common new-player mistakes.
The Default Key Bindings
| Action | Default key | When to press | Common mistake |
|---|---|---|---|
| Eat | R | Over a food source with a visible prompt | Eating while moving, which cancels the bite |
| Drink | Q | At a water source with a visible prompt | Drinking outside the water tile and getting nothing |
| Sprint | Left Shift | Away from danger once both bars are full | Sprinting on empty bars, which starves health twice as fast |
| Attack | Left Mouse Button | Only when the target is already weakened | Spamming attacks into a fresh predator |
The eat and drink actions both play a short animation. Cancelling the animation by moving or taking damage interrupts the bite, so beginners should find a quiet corner, drop into a low-risk area, and finish the cycle before returning to a herd. A Deltia's Gaming controls breakdown also notes that practicing the eat and drink bindings in a safe meadow is the fastest way to make them muscle memory.
What Counts as a Food or Water Source
Food sources are tied to the creature's diet. Herbivores graze on grass patches, low bushes, and fruit trees scattered near watering holes, while carnivores feed on downed prey and carrion left behind by other predators. Water sources are the rivers, ponds, and muddy banks that dot the map, and the drink prompt only appears when the camera is looking directly at the water surface.
| Diet type | Food source | Water source | Beginner priority |
|---|---|---|---|
| Herbivore | Grass, bushes, fruit trees | Rivers and ponds | Stay near water; graze in short bites |
| Carnivore | Downed prey, carrion | Any water tile | Lurk near herbivore grazing spots |
| Omnivore | Berries, eggs, small prey | Rivers and ponds | Eat from the ground, drink often |
The hidden rule is that food and water quality vary by biome, and players who stay in the lush green corridors survive noticeably longer than those who wander into the dry yellow plains without a plan.
Savannah Life How to Survive Your First Hour
The first hour is where most new players lose their first three lives. Spawn points are predictable, but the food map around them is not, and the moment a fresh creature leaves the safety of the herd is the moment the survival curve becomes brutal. A tight first-hour plan, the kind veteran players share in their beginner write-ups, can be the difference between reaching adult stage and respawning ten times.
A Step-by-Step First-Hour Routine
-
Spawn and identify your species. Open the species info screen and note whether you are a herbivore, carnivore, or omnivore. This decides your food source.
-
Locate the nearest water source. Run toward the closest river or pond, because water is the first bar to threaten a new creature. Aim to be at a water source within the first 30 seconds.
-
Drink once, then graze twice. Press Q to drink, then move to the closest bush or grass patch and press R twice. You will not be full, but you will be safe.
-
Stay near the herd. Predators almost never attack creatures inside a group. A single file of herbivores is safer than a lone wanderer, even if the lone path looks shorter.
-
Avoid adult predators. A juvenile creature cannot win a fight against an adult predator, and the health loss is rarely worth the food. Walk away and find a calmer patch of grass.
-
Cycle every 5 to 7 minutes. Set a mental timer: when either bar is half-empty, head back to the water and the nearest food. Repeating the cycle is the core survival loop.
Players who run this routine consistently reach the growth stage far more often than players who sprint into open savannah looking for fights, and the Savannah Life beginner guide covers the same idea from a more general "getting started" angle.
Common First-Hour Mistakes
| Mistake | Why it feels safe | Why it kills you |
|---|---|---|
| Sprinting away from the herd | Distance feels like safety | Sprinting drains hunger and thirst twice as fast |
| Ignoring water for the first 5 minutes | Food is everywhere | Thirst empties first and starts a health tick |
| Chasing a single bush in predator territory | Bushes look inviting | Predators camp the same bushes herbivores use |
| Fighting an adult creature on day one | Pride and practice | One fight on empty bars ends the run |
The pattern across all of these mistakes is the same: the player trades a bar of survival for a small reward, and the bar is never refilled in time. A beginner who focuses on the three bars first and combat second survives long enough to learn combat properly.
Savannah Life How to Regen Health and Heal After Damage
Healing in Savannah Life is not a potion or a bandage; it is the natural regeneration that happens once hunger and thirst are full. The catch is that regeneration is blocked by empty food and water bars, and any incoming damage during the regen window resets the timer. Learning how to regen health is therefore less about pressing a heal button and more about managing the conditions that let health refill in the first place.
The Health Regeneration Conditions
| Condition | Effect on regen | How to trigger it |
|---|---|---|
| Hunger bar full | Enables slow passive regen | Eat to full, then stop moving for 30 seconds |
| Thirst bar full | Boosts regen rate significantly | Drink to full at a water source |
| Out of combat for 10+ seconds | Allows the regen tick to start | Move away from the predator and break line of sight |
| Lying low in tall grass | Adds a small regen bonus | Crouch in cover and avoid camera exposure |
The fastest heal in the game is a fully hydrated creature that is out of combat, which is why drinking before combat, rather than after, is the standard advice from experienced predators and prey alike. A creature that goes into a fight already dry will exit the fight with empty health and no way to recover.
Healing in Three Realistic Scenarios
| Scenario | Best action | Why it works |
|---|---|---|
| Lost a chunk of health in a herd fight | Drink immediately, then eat | Water speeds up the regen tick |
| Caught alone by a predator | Sprint to water, drink once safe | The predator usually disengages when you reach cover |
| Wandering with both bars half-full | Top up both bars, then rest for 10 seconds | Prevents the slow trickle of damage that empties health |
If you are searching for a full heal and cannot find water, backing into tall grass and waiting 30 seconds is the best emergency option. It is slower than drinking, but it does not require a contested resource, and a stationary target is harder for predators to track than a panicking one. Predators looking to bait a chase can pair this with a careful look at the Savannah Life ambush guide for the exact paths prey tend to flee down.
Advanced Survival Habits: From Surviving to Thriving
Survival basics are the same for every creature, but thriving in Savannah Life requires habits that scale with growth stage. A juvenile should stay near water and graze on bushes; an adult should expand territory, hunt or migrate, and start stacking the badges that long-term players chase. The transition between the two is the most common failure point for intermediate players, because the safe habits of the juvenile stage start to hold an adult back.
Daily and Nightly Survival Cycles
| Time of day | Best activity | Why | Risk level |
|---|---|---|---|
| Morning (cool) | Graze and drink in open meadows | Heat is low, visibility is high | Low to medium |
| Midday (hot) | Stay near water and rest | Thirst drains fastest, predators less active | Low if hydrated |
| Dusk (transitional) | Move toward sleeping territory | Predators prepare to ambush | Medium |
| Night (cool and dark) | Hunt or hide, depending on species | Stamina is high, but vision is limited | High for juveniles |
A creature that matches its activity to the day/night cycle reaches the 100-hour survivor badge significantly faster than one that plays the same way at every hour, because the cool windows are when food is dense and predators are slow.
How to Stack Growth, Badges, and Long-Term Survival
Long-term survival is the combination of three habits: food discipline, threat awareness, and a deliberate upgrade path.
-
Track your bar timer. Most creatures need food every 5 minutes and water every 3 minutes in the hot zones. Build a mental clock around the bars, not the clock on the wall.
-
Map the predator rotation. Carnivores tend to patrol the same water sources at dusk, so herbivores should drink earlier and sleep closer to a tall-grass patch.
-
Practice attack windows. When you do decide to fight, the Savannah Life hunting guide explains that a creature on full bars lands a longer stun than a creature on empty bars, and the difference is often the only edge a juvenile has against an adult.
-
Earn badges progressively. The survivor badges reward playtime, not kills, so a creature that follows the routine above will collect them naturally.
The final habit is the simplest one: never start a fight on empty bars. Even an experienced predator who starts a chase on a dry bar will lose the chase to a hydrated prey, because sprinting on empty bars drains health twice as fast and the predator has no water source to recover in the open plains.
Survival Cheat Sheet: Eat, Drink, Regen, Repeat
| Priority | Action | Key | Best timing |
|---|---|---|---|
| 1 | Drink to full | Q | At every water source, before combat |
| 2 | Eat to full | R | After drinking, in safe grass or bush areas |
| 3 | Rest out of combat | None | 10 seconds after any fight |
| 4 | Top up bars on cooldown | Q + R | Every 3 to 5 minutes in the hot zones |
| 5 | Sprint only when safe | Left Shift | Away from predators with both bars full |
A creature that follows this table will rarely die to bar starvation, which is the single most common cause of death in the game. The remaining deaths come from overconfident combat, and those are solved by respecting the cycle rather than abandoning it.
Frequently Asked Questions
What is the fastest way to eat in Savannah Life?
Stand still on top of a grass patch or bush and press R. The bite animation completes faster when you are not moving, and the food bar fills to roughly 25% per successful bite. Two bites at a quiet bush will keep you safe through a short travel between water sources, and you can repeat the cycle every few minutes in the cool parts of the savannah.
Where do I find a water source as a brand-new spawn?
Every spawn point in the game is within a short run of at least one river, pond, or muddy bank. Open the map right after you spawn and look for the blue tile nearest to your dot, then head there before you eat. According to the official Savannah Life page, drinking first, eating second is the order that keeps a juvenile alive through the first ten minutes.
How do I regen health after a predator fight?
Drink to full first, then eat to full, then rest out of combat for about 10 seconds. Health will begin to tick back up as long as both bars are above the halfway mark and no predator is in line of sight. A short retreat into tall grass speeds the regen up because it breaks the predator's camera lock and stops incoming damage from resetting the timer.
Can I heal without water in an emergency?
You can, but the regen is much slower. Move into tall grass, stop sprinting, and let the natural tick refill a small portion of health. This emergency heal will not save a creature that is already on a sliver, so it should only be used when the nearest water source is contested by another predator. Plan to refill water at the next safe opportunity to bring the bars back to full.
Do different species survive the savannah differently?
Yes, species choice changes the survival loop because diet, speed, and size are all different. Herbivores survive by staying in herds and grazing often, carnivores survive by lurking near water sources and ambushing prey, and omnivores survive by mixing the two playstyles. A new player who picks a smaller species should expect to spend the first hours hiding more than fighting, which is exactly what the basic eat, drink, and regen routine is built for.