
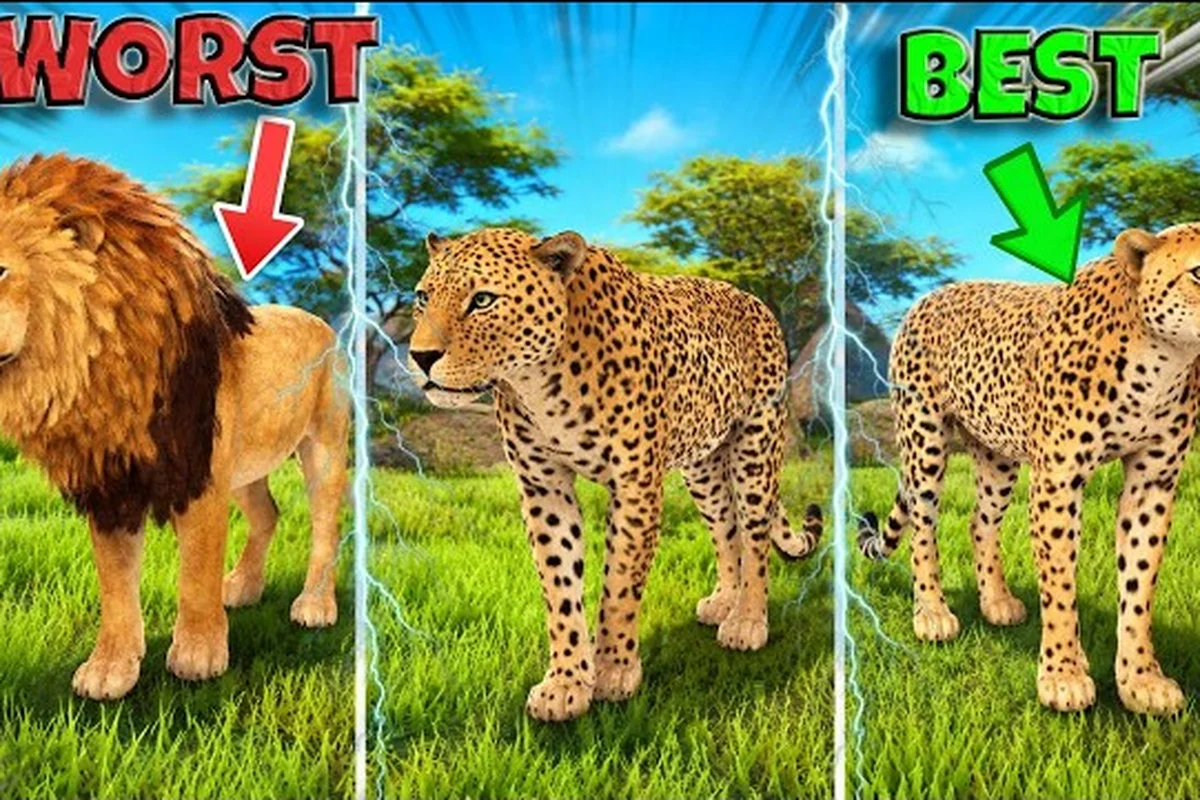
Drop into Savannah Life and the savannah is already alive around you — grass shifts in the wind, distant herds move past watering holes, and somewhere a hyena is stalking a juvenile gazelle. The first thirty seconds decide whether you spend the next hour building a pride or respawning as a fresh cub. This Savannah Life gameplay guide walks you through the exact loop that experienced players use on the 65-player servers: fill the hunger and thirst bars, learn what every keybind actually does, hunt smarter, and grow from a juvenile into an adult with stronger attacks before the next Blood Moon rolls in.
Core Gameplay Loop in Savannah Life
Every server in Savannah Life follows the same four-stage loop: spawn, survive, grow, and dominate. The the official Roblox page for Savannah Life frames the experience as "spawn small, keep hunger and thirst filled, survive predators and weather events, and grow from juvenile to adult with stronger attacks." That single sentence is the entire game in miniature, and once you read your first 30 minutes through that lens, every mechanic snaps into place.
Spawn, Survival, and the First Five Minutes
You spawn as a juvenile of one of Africa's most iconic animals — typically a gazelle, wildebeest, zebra, or one of the smaller carnivores. Your first goal is not to fight; it is to keep two bars from emptying. Hunger drains constantly and Thirst drains faster in open grassland, especially during the dry-season weather event. The first five minutes of any run are usually spent finding a water source and a safe cluster of tall grass.
-
The R key is your primary "do something useful" action. In most starter animals, R performs a basic eat or drink interaction when you are near a water tile or a carcass, and it doubles as a scent-mark or alert call on certain species. Players who skip learning what R does on their specific spawn almost always die in the first ten minutes.
-
The Q key complements R by handling growth-stage actions — for some animals Q requests food from a parent, for others it triggers a defensive roar. Our Q action explainer breaks down every species variant.
-
Shift is almost always a sprint or pounce, and sprinting drains stamina while also making you visible across the map to predators and rival carnivores.
Why Hunger and Thirst Matter More Than HP
Players new to the game focus on health, but veterans focus on the two survival bars. When either bar drops below roughly 25 percent, your character begins to take passive damage and your sprint speed is reduced, which means you cannot escape an ambush. Staying above that threshold is the single biggest survival multiplier in the early game, and it is the reason experienced players circle between water, grazing, and safe cover instead of chasing fights.
| Stat | Drains When | Drains Fastest | How to Refill | Risk if Ignored |
|---|---|---|---|---|
| Hunger | Time + sprinting | Sprinting and cold weather | R near grass, bushes, or carcasses | Stamina regen cut in half |
| Thirst | Time + heat | Dry-season weather event | R at any water tile (river, watering hole, lake) | Passive HP loss and slow debuff |
| Stamina | Sprinting, attacking, R-actions | Combat and fleeing | Rested standing (1–2 sec) | Cannot escape or fight |
| Health | Predator attacks, falls, Bleed status | Group ambushes | Eat, drink, rest in safe grass | Respawn as juvenile |
Animal Tier and Starter Choices
Picking your first animal is a strategic decision, not a cosmetic one. Each species has a different base damage, stamina pool, and preferred prey, and the savannah behaves very differently depending on which role you fill. According to the Savannah Life official site from NOYO Productions, players can choose from lions, herbivores, and several mid-tier carnivores — each with its own growth curve and pride/family mechanics.
Comparing the Most Common Starter Animals
| Animal | Role | Damage | Stamina | Difficulty | Best For |
|---|---|---|---|---|---|
| Gazelle | Herbivore | Low | High | Easy | New players learning the R / Q loop |
| Wildebeest | Herbivore | Low–Medium | High | Easy | Group play, herd bonus |
| Zebra | Herbivore | Low | Very High | Easy | Fast travel, scouting |
| Hyena | Small carnivore | Medium | Medium | Medium | Solo hunters, pack tactics |
| Cheetah | Mid carnivore | High | Low | Hard | Burst-damage ambush predators |
| Lion | Apex | Very High | High | Hard | Pride leaders, late-game territory |
Gazelles and wildebeest are forgiving because they regen stamina fast and can outrun almost every predator when their thirst bar is full. Lions and cheetahs are high-reward but punishing — a single missed ambush drains your stamina and leaves you vulnerable to counter-attack from a hyena pack.
How the Tier List Translates into Strategy
A practical rule of thumb: pick the lowest-tier animal you can stand playing for thirty minutes. The XP curve for growing from juvenile to adult is steep, and you will earn far more progression on a starter herbivore than you will dying repeatedly as a juvenile cheetah. Once you reach adult stage on a herbivore, you can switch to a carnivore with a permanent XP boost that several community guides have flagged as a top-tier strategy.
The R Key and Core Action Bindings
The single most common question new players ask is "what does R do?" — and the honest answer is that it depends on your animal and your context, which is exactly why so many new players are confused. R is context-sensitive, which means the same key performs eat, drink, scent-mark, or call actions depending on what you are looking at and what species you are playing.
What R Does in Each Situation
| Situation | R Action | Stamina Cost | Notes |
|---|---|---|---|
| Standing in water (any depth) | Drink | None | Refills Thirst; the most reliable use of R |
| Standing on grass or near a bush | Graze | None | Refills Hunger slowly; safer than hunting |
| Near a fresh carcass | Eat | Low | Much faster hunger refill than grazing |
| Looking at a scent-mark | Overmark | Medium | Used in territory disputes between carnivores |
| Near a pride or pack member | Call | Medium | Alerts nearby allies; works across long grass |
| Near an injured juvenile | Feed | Low | Some herbivores can feed cubs with R |
Binding Tips from Experienced Players
Community testing reported by players on the Savannah Life Fandom guides hub shows that most early deaths happen because players try to use R while sprinting. R cancels sprint, which means if you hit R mid-chase, you suddenly stop moving and the predator behind you gets a free bite. Bind R to a comfortable mouse side-button if you can, and practice hitting it only when you have come to a full stop near the thing you want to interact with.
A second common mistake is using R on water when your animal is not actually in a water tile. The game counts standing in the shallow river and the central watering hole as "in water," but standing on the bank is not enough. Walk one tile deeper before pressing R if your thirst bar is not moving.
Hunting, Combat, and Growing Your Herd
Hunting is where Savannah Life shifts from a casual survival sim into a tense combat game. The Savannah Life trailer from NOYO Productions shows the full loop in action: stalk, ambush, take down prey, drag the carcass to a safe spot, and call your pride to feed. The combat system is built around stamina management, positional advantage, and reading the prey's behavior.
Combat Basics for Every Animal
| Action | Keybind | Effect | Stamina Cost |
|---|---|---|---|
| Light attack | Left click (default) | Small damage, fast recovery | Low |
| Heavy attack | Left click while holding Shift | Big damage, long recovery | High |
| Dodge | Space (double-tap) | Short roll, i-frames | Medium |
| Block | Right click | Reduces incoming damage by ~60% | Continuous |
| Pounce (carnivores) | Shift while sneaking | Stun prey for 2 sec | High |
| Call ally | R near a pride member | Pulls a pack member into the fight | Medium |
The most important combat rule is that stamina is life. Every attack, dodge, and pounce drains it, and once you are empty you cannot block, dodge, or sprint away. Skilled players spend most of a fight walking in a half-circle around their prey, only committing to an attack when the prey is winded. If you are new to combat, our dedicated Savannah Life hunting guide goes much deeper on prey behavior and ambush positioning.
Growing a Herd or Pride
The pride and herd systems are how you stop playing solo. Herbivores can call nearby juveniles with R, building a passive herd that gains a movement-speed bonus and a shared awareness of predators. Carnivores form prides that share kills, defend territory together, and unlock a group-pounce combo once the pride has at least three adult members.
| Group Type | Members | Main Benefit | Unlock Condition |
|---|---|---|---|
| Herd (herbivores) | 2+ juveniles | Speed + predator awareness | One adult uses R near juveniles |
| Pack (hyenas) | 3+ adults | Pack-pounce combo | Three hyenas in the same territory |
| Pride (lions) | 3+ adults | Group ambush, territory control | Three lions on the same server |
| Mixed alliance | Varies | Temporary truce for big prey | Voluntary, breaks on betrayal |
Building a stable pride takes time. According to community reports on player-led Discords, the average pride takes 45–60 minutes of coordinated play to form, and it falls apart quickly if members do not share kills evenly. A common mistake is calling every juvenile you find into your pride, which dilutes XP gains for everyone and makes the pride easier to wipe in a single ambush.
Surviving Blood Moons, Weather, and Server Events
Once you understand the daily loop, the real Savannah Life content opens up. Periodic Blood Moon events and dry-season weather dramatically increase predator activity, reduce herbivore regen, and force every species to either group up or hide. These are the moments when new players lose hours of progress, and they are also the moments that make a successful pride feel earned.
Blood Moon Survival Priorities
| Priority | Action | Reason |
|---|---|---|
| 1 | Top off hunger and thirst before the event starts | You cannot eat or drink safely during the event |
| 2 | Move to tall grass or a cave tile | Reduces predator detection radius |
| 3 | Group up with pride or herd members | Lone animals are instant targets |
| 4 | Avoid the central watering hole | Every carnivore on the server camps it |
| 5 | Mark territory with R if you are a carnivore | Discourages rival prides from entering |
Dry-Season and Heat Strategies
Dry-season weather drains thirst twice as fast, which means a herbivore that would normally need to drink every eight minutes now needs to drink every four. Smart players stay near the river and graze in short bursts between drinks. Carnivores should use the dry season to ambush prey at the watering hole, where herbivores are forced to gather. If you are hunting during the dry season, our complete survival tips guide walks through water-route positioning and heat-rotation patterns in more detail.
Choosing Between Empty, Mid, and Full Servers
Each Savannah Life server holds up to 65 players according to Rolimons' live tracking data. Lower-population servers (under 20 players) are best for new players learning the R / Q loop, mid-population servers (20–40) are ideal for building a pride, and high-population servers (50+) are reserved for experienced players chasing the Blood Moon leaderboard. If you are still getting comfortable with the basics, our first-day priorities guide lists the safest server types for the first hour of play.
Frequently Asked Questions
What does R do in Savannah Life?
The R key is your main context-sensitive action. Standing in water it drinks, near grass it grazes, by a carcass it eats, and near a pride member it calls for help. The action is the same key in every species, but the effect changes based on what you are near, which is why new players often wonder whether their keybind is broken.
How do I grow from juvenile to adult in Savannah Life?
Growth is tied to XP gained from eating, drinking successfully, surviving Blood Moons, and winning fights. Most species need around 30–45 minutes of active play to reach adult stage. Staying near water and avoiding unnecessary fights is the fastest route, while dying repeatedly as a juvenile resets much of your progress.
What is the best animal for a brand-new player?
A gazelle or wildebeest is the best starter because both refill hunger and thirst quickly, have high stamina, and rarely attract apex predators unless they wander into lion territory. Once you are comfortable with the R / Q loop and the daily survival cycle, switch to a hyena or cheetah to learn combat.
Can I play Savannah Life with friends?
Yes, and the game is significantly easier in a group of two or more. Friends can share a pride or herd, coordinate ambushes, and revive each other after a Bleed status ends. Form the group before entering the server so you all spawn in the same territory, and use R to call each other whenever someone is in trouble.
Is Savannah Life free to play?
The base game is free on Roblox, and most of the core gameplay loop — including hunting, herding, Blood Moon events, and pride building — is available without spending Robux. Optional gamepasses unlock cosmetic variants and a few quality-of-life perks, but they are not required to reach adult stage or compete on the leaderboard.